Thinking About New Cabinets? Here's What You Need to Know.
So, you're dreaming of a kitchen refresh, maybe new cabinets to really make the place pop. That's a great idea, and it's one of the best ways to boost your home's value and your daily enjoyment. But before you start ripping out old boxes or ordering new ones, let's get real about what cabinet installation actually involves. I've seen a lot of kitchens in Waterbury, from the old Victorians in Hillside to the ranches out in East Farms, and every one has its quirks. Installing cabinets isn't just screwing boxes to a wall; it's precision work that affects everything else in your kitchen.
You might be wondering, "Can I do this myself?" The short answer is: maybe. The long answer is: it depends on your skill level, your patience, and what you're willing to risk. Let's break it down.
Before You Even Think About Installation
This is where most DIY projects go sideways before they even begin. Planning is everything, and I mean everything.
Measure, Measure, Measure: Don't just measure once. Measure three times. Measure the walls, the ceiling height, the floor. Check for plumb and level. Older homes, especially those classic triple-deckers around the South End, often have walls that are anything but straight. You'll need to account for that.
Design Your Layout: Think about functionality. Where do the appliances go? How will the doors open? Will they bump into each other? Don't forget about fillers – those little strips of wood that bridge gaps between cabinets and walls. They're crucial for a professional look.
Check Your Walls: Are your walls strong enough? Are there studs where you need them? You'll be hanging a lot of weight, especially with loaded cabinets. If you've got plaster and lath, you might need to do some extra work to ensure a solid anchor point. Don't rely on drywall anchors for cabinets; you need to hit studs.
Tools You'll Need: This isn't just a screwdriver job. You're looking at a good level (a 4-foot one at least), stud finder, drill, impact driver, clamps, shims, measuring tape, pencil, safety glasses, and possibly a laser level. Don't skimp on tools; it makes the job easier and safer.
During the Installation: The Nitty-Gritty
Okay, you've got your cabinets, your tools, and your plan. Now for the actual work. This is where the difference between a DIY job and a pro job really shows.
Start with the Uppers, or Lowers? Most pros start with the upper cabinets, especially if you're doing a full tear-out. This prevents damage to your base cabinets and countertops. However, some people prefer to set a level ledger board for the uppers first, then install the bases, then hang the uppers. Either way, level is king.
Level and Plumb: I can't stress this enough. Every single cabinet needs to be perfectly level and plumb. If your first cabinet is off, every single one after it will be off, and it'll look terrible. Use shims generously. This is where those crooked Waterbury walls will test your patience.
Secure Them Properly: Use long screws (at least 2.5-3 inches) to go through the cabinet back and into the wall studs. Don't just rely on a few screws; use plenty. For connecting cabinets to each other, use cabinet screws or bolts. You don't want gaps or wobbles.
Dealing with Obstacles: Electrical outlets, light switches, plumbing pipes – you'll inevitably run into them. You might need to cut holes in the cabinet backs or sides. Measure twice, cut once. If you're unsure about moving electrical or plumbing, that's a definite "call a pro" moment.
After Installation: The Finishing Touches
Once the boxes are up, you're not quite done.
Install Doors and Drawers: This is usually straightforward, but again, precision matters. Adjust the hinges so all the doors line up perfectly and have even gaps. This is one of those small details that makes a huge difference in the final look.
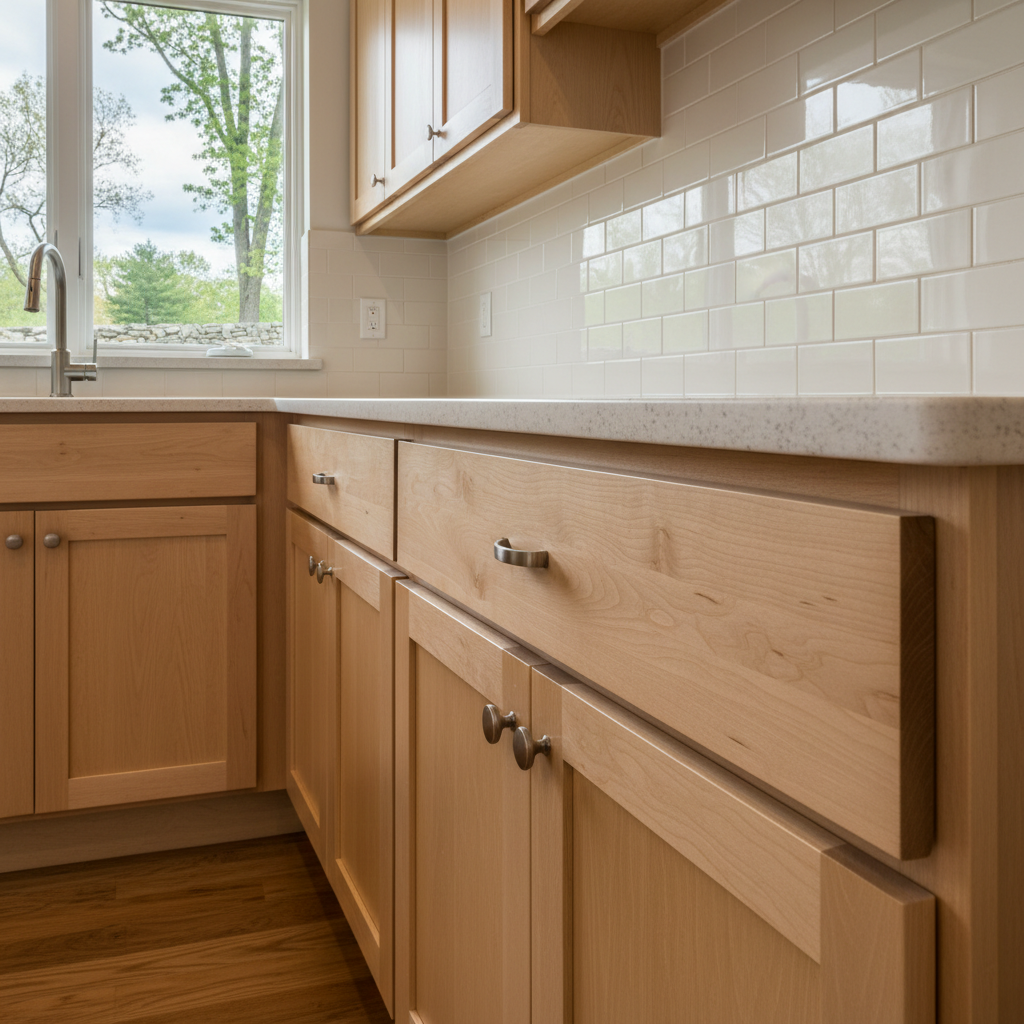
Add Hardware: Knobs and pulls are the jewelry of your cabinets. Measure carefully to ensure they're all at the same height and distance from the edges. A jig can be a lifesaver here.
Caulk and Fill: Fill any nail holes or small gaps with wood putty or caulk. This gives a clean, finished look.
When to Call a Pro (Like Alpha Kitchens)
Look, I'm all for homeowners tackling projects they're comfortable with. But there are definitely times when calling in a professional isn't just easier, it's smarter. Here's when you should seriously consider it:
If Your Walls Are Really Bad: If your house is old and your walls are significantly out of plumb or level, it's a nightmare to get cabinets to look right. We've got tricks for that.
If You're Moving Plumbing or Electrical: This isn't just about skill; it's about permits and safety. Unless you're a licensed plumber or electrician, don't mess with it.
If You're Not Confident: If you're feeling overwhelmed or unsure at any point, stop. A poorly installed cabinet job can lead to sagging, damage, and a lot of frustration. It's an investment, and you want it done right.
If Time is Money: A professional team can install an entire kitchen of cabinets in a fraction of the time it would take a DIYer. We do this every day.
If You Want a Warranty: Most professional installations come with a warranty on the workmanship. If something goes wrong, you're covered.
Ultimately, cabinet installation is a big job. If you've got the tools, the patience, and a good eye for detail, you might be able to tackle parts of it. But for a truly seamless, professional look that lasts, especially with the unique challenges some of our older Waterbury homes present, sometimes it's best to let a company like Alpha Kitchens handle the heavy lifting. We've been doing this for years, and we know how to make your kitchen look fantastic.